Step 3: Fitment & Aesthetics
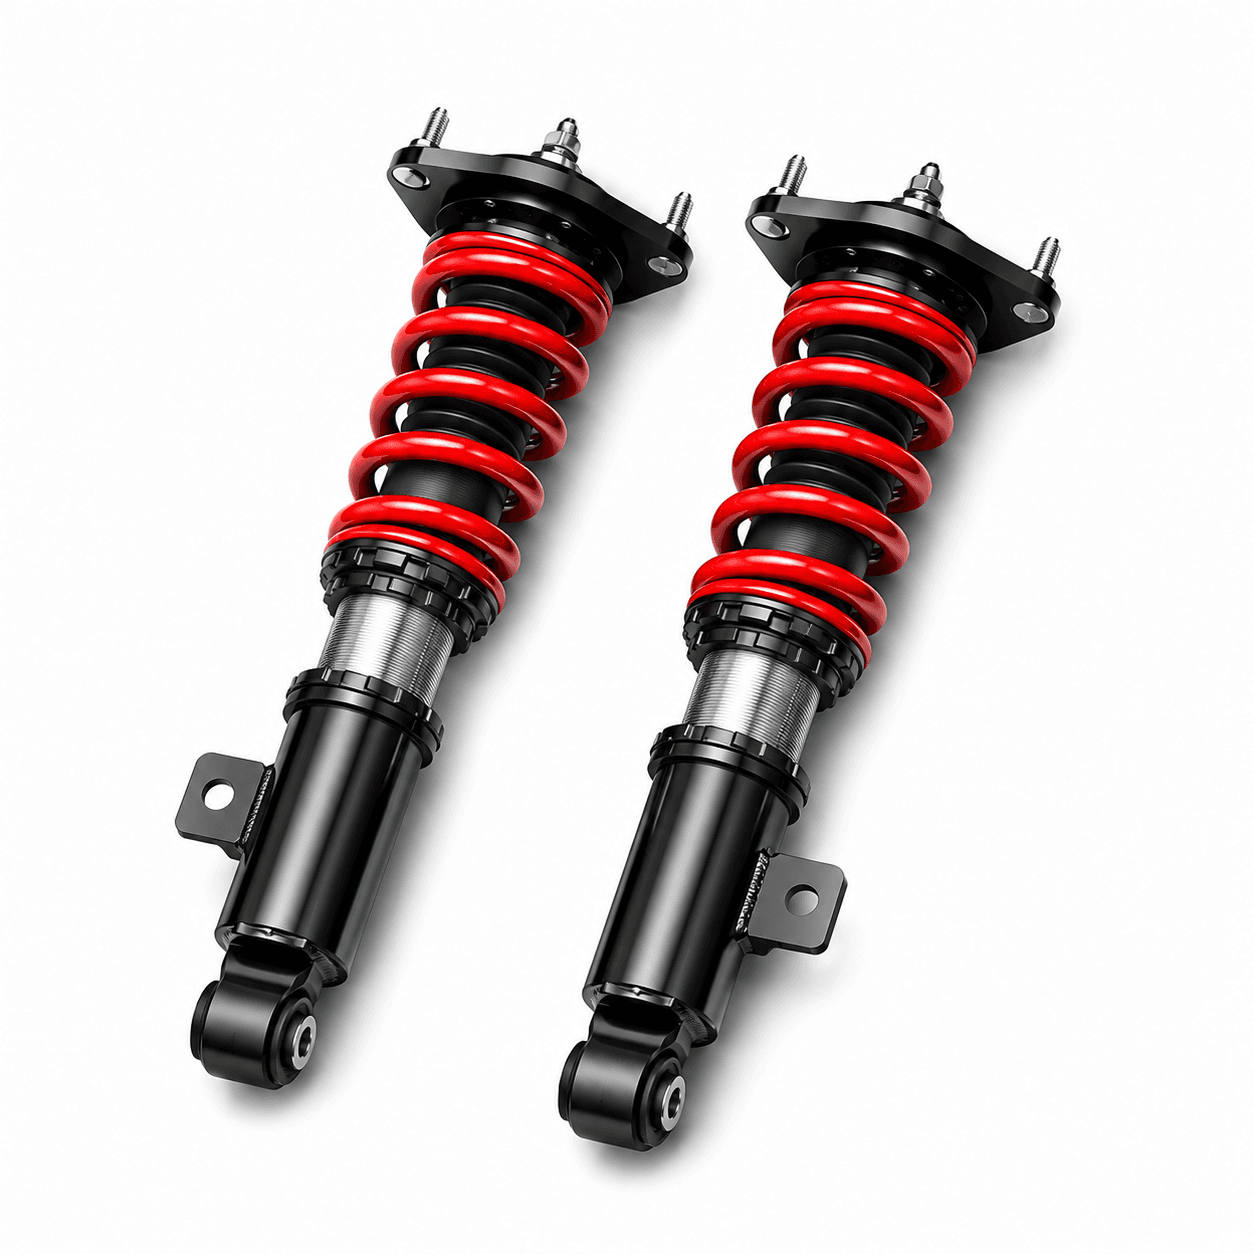
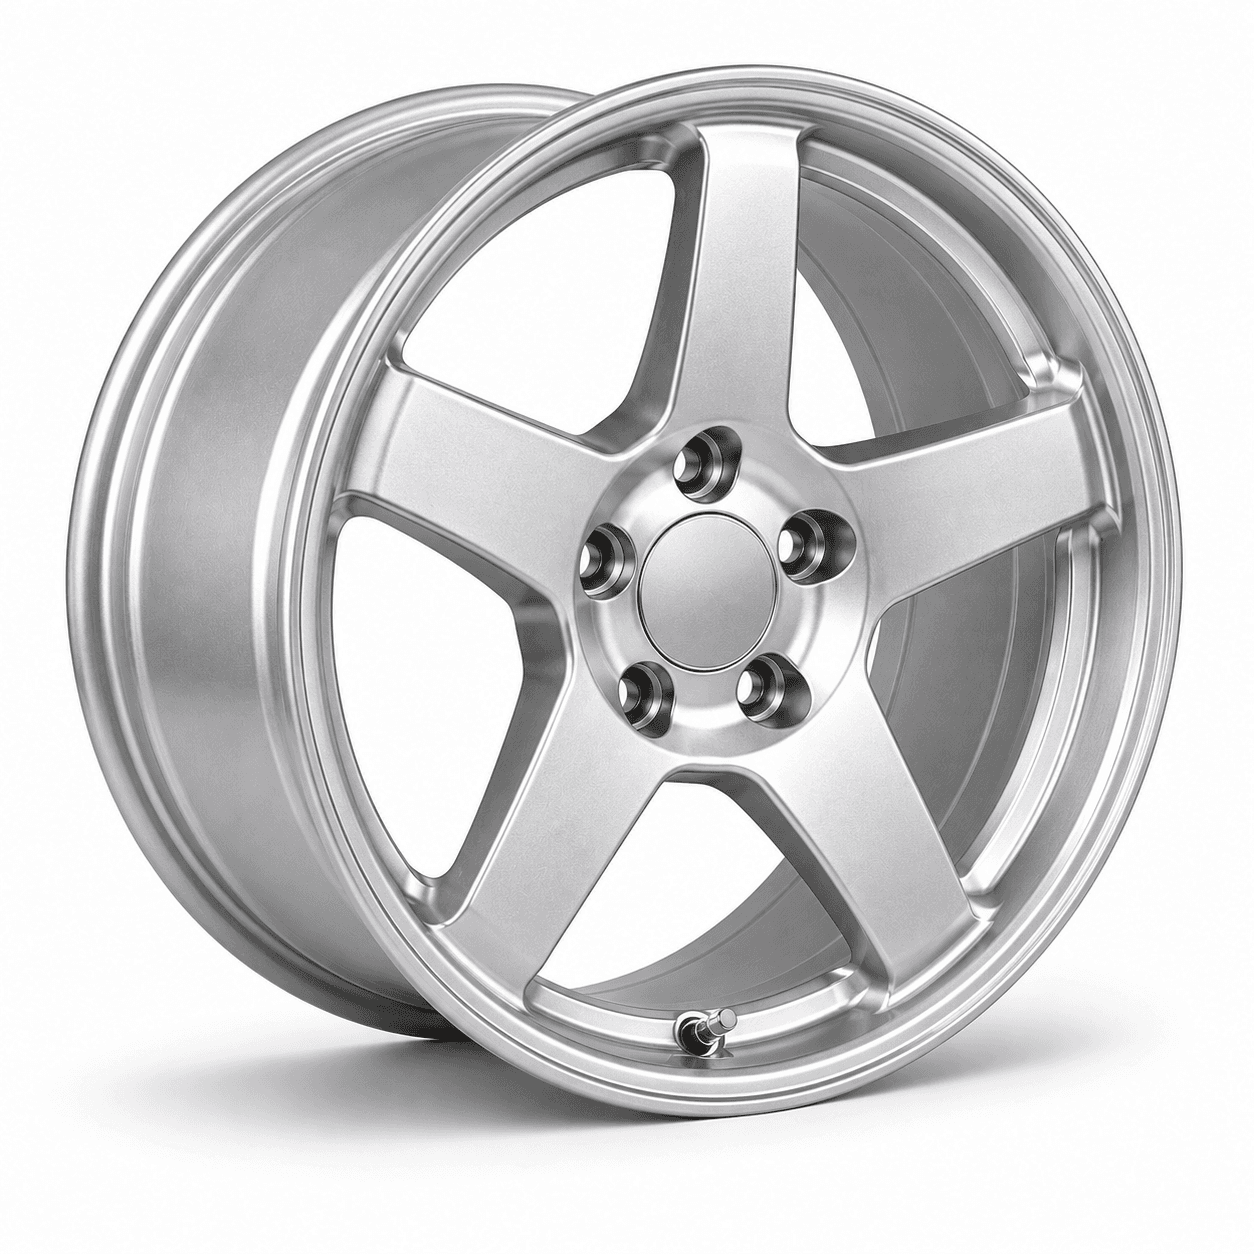
Before finalizing your tire size, consider your fitment goals. For a deeper look at how wheels, offset, and suspension interact, refer to our wheel guide and coilover guide.
Flush: This is the goal standard for tire fitment. Achieved by selecting a tire width that matches the wheel width and calculating offset so that sidewall aligns with the fender edge.
- Caution - Fender Contact: With the tire directly under the fender lip, hard suspension compression can cause the tire to contact the fender. This is particularly relevant for lowered cars.
Tucked: Achieved by selecting a tire width slightly narrower than wheel width, combined with a more positive wheel offset. This allows the wheel and tire to sit deep inside the fender well.
-
Caution - Suspension Interference: Moving the tire deeper into the wheel well increases the risk of the tire inner sidewall contacting the strut, spring perch, or control arms.
-
Caution - Full-Lock Rubbing: You may have clearance while driving straight, but the tire may contact the inner wheel liner at full steering lock.
Poke: Achieved by choosing wider tires and aggressive negative offset. The tire extends beyond the fender.
-
Caution - Bearing Wear: More negative offsets create a larger lever arm on the wheel bearing, reducing its lifespan.
-
Caution - Scrub Radius: Moving the tire centerpoint away from the steering axis changes scrub radius, which can make steering feel twitchy over bumps and reduce stability under heavy braking.
Stance: Achieved by undersizing tire width relative to a wide wheel (tire stretching), lowering the car, and using heavy negative camber to tuck the wheel/tire assembly under the fender. Stance is more common for show cars rather than street cars due to reduced drivability.
-
Caution - Reduced Contact Patch: Heavy negative camber means you are riding on only the inner inch or two of the tread. This drastically increases braking distances and reduces wet-weather traction, as the tire's "footprint" is only a fraction of what the manufacturer intended.
-
Caution - De-beading: Stretching a tire pulls the sidewall at an unnatural angle. This reduces the tension holding the tire to the rim, greatly increasing the risk of the tire popping off the wheel (de-beading) during cornering or when hitting a pothole.
-
Caution - Rim Damage: With the tire stretched inward, the metal lip of the wheel is completely exposed to curbs and road debris.
Step 4: Load Index & Speed Rating
These specifications define the maximum weight and speed the tire can safely support. Never choose a tire with ratings below your vehicle's requirements.
-
Load Index: A numerical code representing the maximum weight each tire can support. To find your required load index, locate your vehicle's Gross Vehicle Weight (GVW) on the door jamb sticker, divide by four to get the per-corner weight, then add 10–15% margin to account for weight transfer during braking and cornering. See the complete load index chart here. Most tires will have a sufficient load index for a street vehicle.
-
Speed Rating: A letter code (e.g., V, W, Y) indicating the maximum speed the tire is certified to handle. Match this to your driving application. Winter tires often carry lower speed ratings than summer tires due to their softer, specialized compounds. See the complete speed rating chart here.
Step 5: UTQG Ratings
UTQG (Uniform Tire Quality Grading) ratings are standardized by NHTSA and allow consumers to compare tires across three performance characteristics. These ratings are assigned by the manufacturers themselves, so they are most useful for comparing tires within a single brand's lineup rather than across brands.
Treadwear: A comparative rating based on wear rate under controlled test conditions. In theory, a tire rated 200 lasts twice as long as one rated 100. In practice, this rating varies significantly between manufacturers. A "200TW" rating from one manufacturer does not guarantee the same lifespan as a "200TW" from another. Treadwear rating is best treated as an indicator of compound hardness rather than a precise lifespan guarantee. The lower the number, the softer and "stickier" the rubber compound will be, offering higher mechanical grip at the expense of a shorter lifespan.
Traction: Measures the tire's ability to stop on wet pavement under controlled conditions. It does not account for cornering stability or dry performance. Ratings are assigned as AA, A, B, and C. Each grade corresponds to a specific threshold of g-force the tire can sustain during wet braking. Stick to AA or A ratings when possible to maximize braking capability.
Temperature: Measures the tire's ability to resist generating heat and its ability to dissipate heat under sustained load. Ratings are assigned as A, B, and C. Performance enthusiasts should always prioritize an "A" rating to ensure the tire can safely handle the thermal stresses of spirited driving or high-speed highway travel.
Step 6: Tread Pattern
The specific design of the ribs, grooves, and sipes determines how effectively the tire evacuates water and provides biting edges for traction. A tire's tread pattern is a physical map of its capabilities.

-
All-Season / Winter: Look for multiple deep longitudinal grooves to channel water away from the contact patch, and a high density of sipes (tiny zig-zag slits in the tread blocks) for biting into ice and snow. If an "all-season" tire looks nearly smooth with few sipes, its cold-weather performance will likely be poor.
-
Performance / Summer: These tires prioritize rubber-to-road contact. Expect to see larger, solid tread blocks on the shoulders (the outer edges) to provide stability during hard cornering. They will have fewer sipes because sipes make tread blocks "squirmy" under high heat and load, which reduces steering precision.
-
Orientation Marks: Tires may be Asymmetric (different tread on the inside vs. outside) or directional (must rotate in one specific direction). Always check the sidewall for "Outside" markings or rotation arrows. Installing a directional tire backwards will prevent proper water evacuation.
Step 7: Brand and Budget
Once all specifications are confirmed, choose a reputable brand. Brand and budget determine overall quality, performance consistency, and long-term value. Avoid selecting a tire based on price alone as your tires directly impact vehicle safety and driving performance more than almost any other component.
Conclusion
The right set of tires can dramatically improve how your car drives, often more than any other modification. Start by identifying your use case and correct size, then work through load rating, UTQG characteristics, and tread design to find the tire that matches your goals. By working through each step methodically, you can confidently choose a tire that delivers the performance, safety, and driving experience you're looking for. Maintain your tires by checking pressure regularly and rotating at manufacturer-recommended intervals to maximize tread life. You can find all the parts to plan your build on RideBuilder.
Additional Resources